
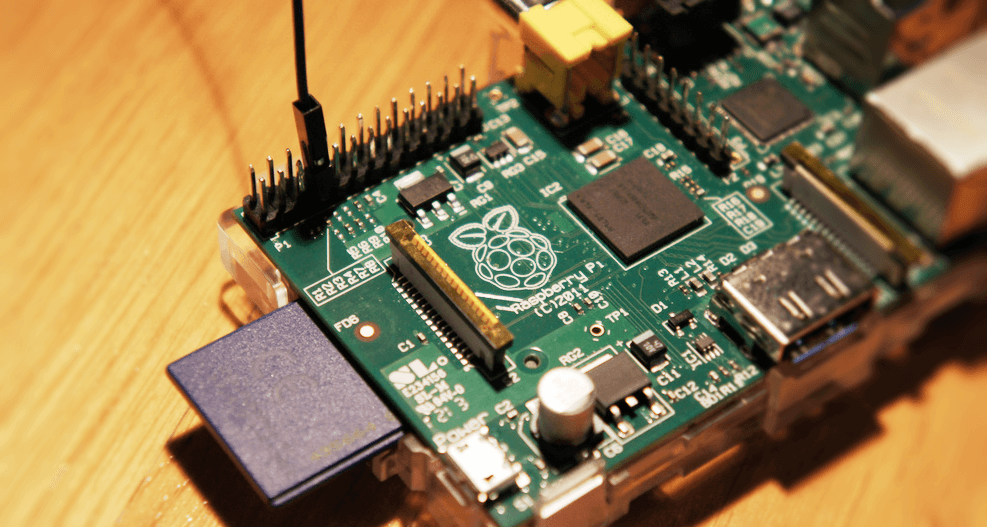
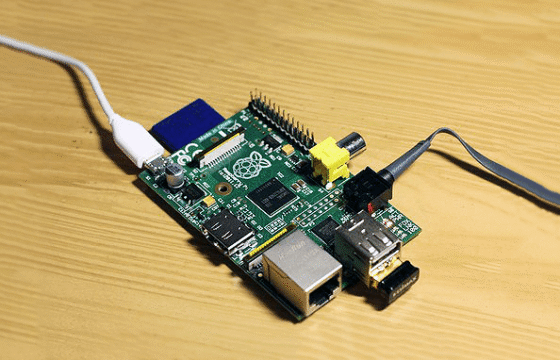
Learn how to build a FM Radio Transmitter using a Raspberry Pi. This little hack doesn’t need anything much other than the Raspberry Pi and a Jumper cable. It allows you to transmit any audio content through the Raspberry Pi. Building this Raspberry Pi Radio Transmitter wouldn’t take more than 15-20 minutes to set up and start transmitting.
Hardware Required
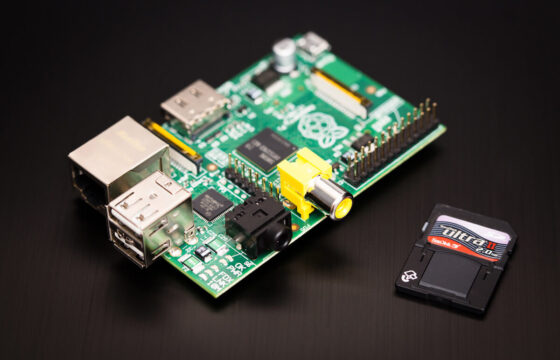
- Raspberry Pi.
- SD Card.
- Jumper Cable
- Mobile Phone or FM Radio
Wiring
Connect a jumper cable to header 7 of the Raspberry Pi, the jumper cable acts as the transmitter for Radio. 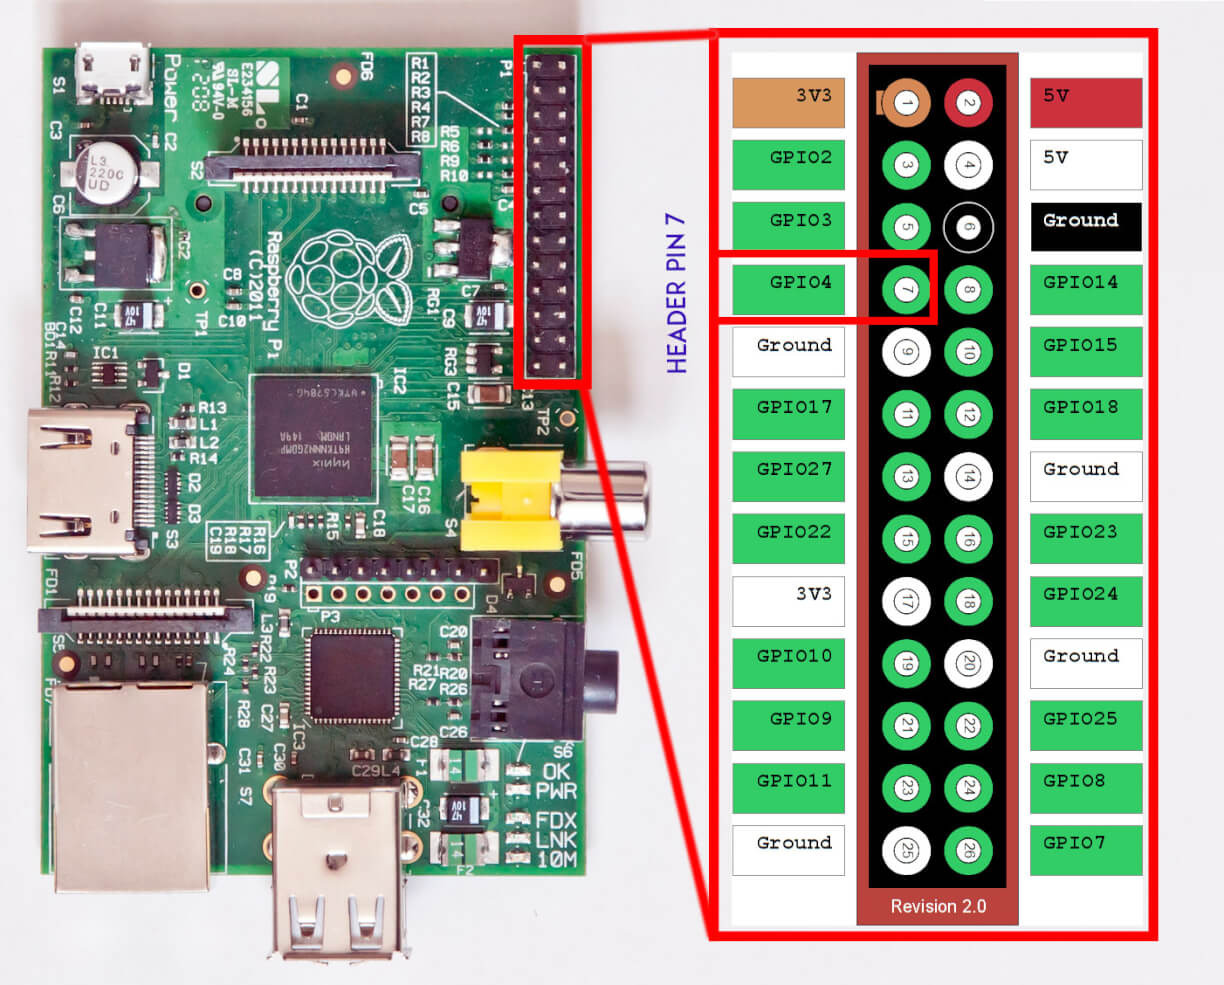
Procedure
Step 1 : Connect to your Raspberry Pi through ssh or open the Terminal in your Raspberry Pi Step 2 : Type this into the terminal
wget http://www.omattos.com/pifm.tar.gz
This will download the python script that helps with the transmission Step 3 : Untar the file you downloaded. Type this into the terminal
tar xvzf pifm.tar.gz
Step 4 : Now change directory to the pifm folder
cd pifm
Step 5 : Open your Radio App on your phone or if you still have a functioning radio tune to 100Mhz and then in your terminal type
sudo ./pifm sound.wav 100.0
If everything went well you should now be hearing Star Wars sound track in your radio. In the next post we will learn how to make a playlist for the Raspberry Pi Radio Transmitter. Although if you’re feeling like exploring check out the PirateRadio project which enables playback without using command line.
Note : The Raspberry Pi radio transmitter can be built without the jumper cable, the trade-off is that the range drops to ~10 cm from 100 meters.It is not allowed to broadcast on these frequencies in some countries. Make sure you read about your local laws before trying this hack.











Leave a Reply