


For most, the best way to store Bitcoins is using free online wallets. But if you’re serious about bitcoins and own a lot of them, it is recommended to store it with you physically. Especially after the MtGox hack. One solution is to store it offline on your computer. But that is still prone to security attacks. We’ve reviewed the Ledger Wallet previously, and you can check out its review here. Ledger Wallet is a cheaper solution to store a few bitcoins offline. But if you are looking to store your Bitcoins in an impenetrable vault, Trezor might be the solution.
Trezor is a $100 Hardware Bitcoin wallet from a Czech Startup, Satoshi Labs. It is an understatement to call it a wallet. It is a friggin vault! Trezor wallet supports Bitcoins, Testnet, Namecoin, Litecoin, Dogecoin and Dash.
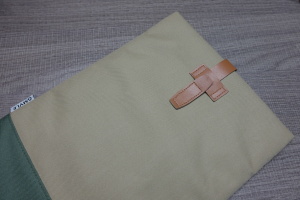
Packaging
The packaging for Trezor Wallet was a little different from the other wallets I’ve used. It was surprisingly small for a $100 product. It is tightly packed with a holographic seal. It is impossible to tamper the box without leaving any evidence. Inside the box, there is the Trezor wallet itself, a small micro USB cable, a tiny lanyard, a quick start manual, a blank recovery sheet and a bunch of stickers. The Trezor Wallet also has CE and RoHS certifications.
Build
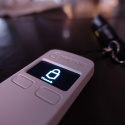
Trezor wallet is a tiny plastic box, with a screen on it. To be exact, it has a size of 60x30x6mm and weighs just 12 grams. The device is way too light and feels flimsy in hand. The corners are really hard, but while applying some pressure in the centre, the plastic bends which can be something to worry. Not sure if this device can take a beating, but it is definitely rated to be waterproof. Although, the build quality could’ve been better.

The wallet runs on an ARM Cortex M3 processor clocked at 120MHz. The screen is an OLED screen at a resolution of 128×64. There are two hardware buttons to interact with the wallet just below the screen. There is no battery in the device. There is a Micro-USB port in the bottom to communicate and power the device.
Setup
The initial setup for Trezor is time consuming, but totally worth it for the security it provides. Trezor works on Chrome and runs on most of the desktop OS. The first thing to do is to go to mytrezor.com and download the browser plugin. Once that is downloaded and installed, connect the Trezor wallet to your computer using the included Micro-USB Cable.
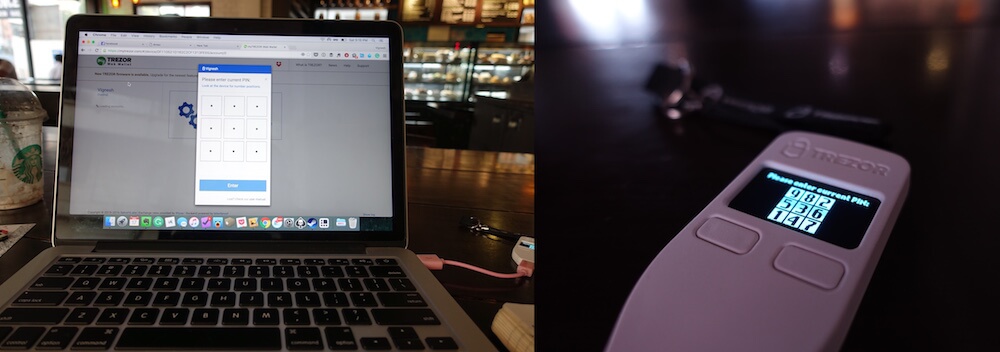
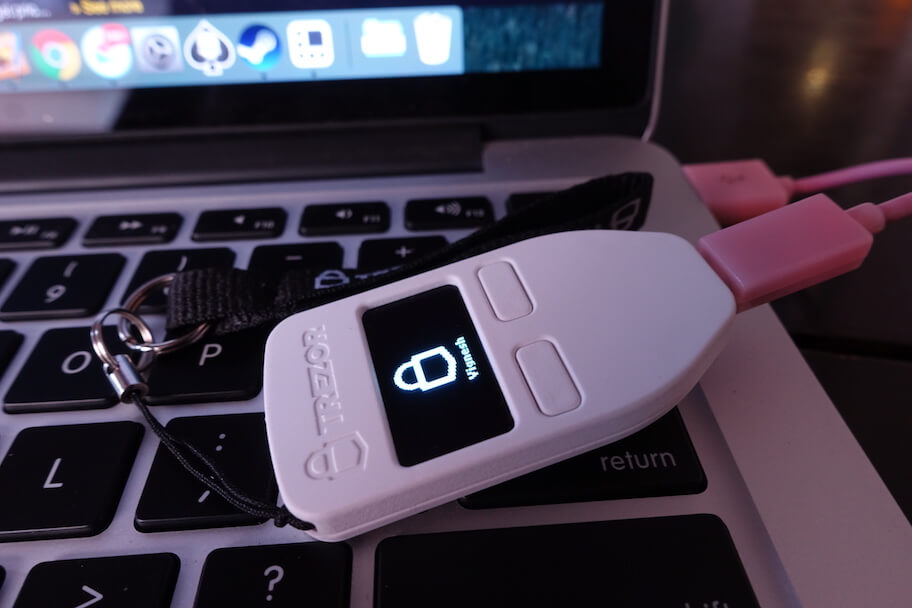
Once that is done, set up a 4 digit passcode. This is not as simple as typing in a key. Numbers from 1-9 are jumbled on the screen of Trezor wallet. You’ll have to refer to the numbers on that and click on the relative keys on the desktop. This is done to ensure a keylogger cannot pick up the pin. Also, the wallet cannot be accessed by anyone remotely without looking at Trezor Wallet’s screen. This is easily the biggest feature of Trezor wallet.
The next step is to note down the 24 words randomly generated seed on the recovery sheet included. This helps in recovering your bitcoins in case you lose the wallet. Trezor uses BIP39 and BIP44 standards to create the wallet. So, bitcoins can be retrieved if you lose the wallet. Some of the services where you can recover your bitcoins are Mycelium and MultibitHD.
That’s pretty much it for the setup. One that is done, it is really easy to use the wallet whenever you want to.
Using
To use the device, once again you’ll have to connect the device to your computer using Micro-USB and open mytrezor.com. Here, you’ll have to enter the 4 digit pin you set previously. Once again, the digits will be jumbled on the Trezor’s screen, and you’ll have to use the same positions to enter the PIN on your computer’s screen. Once the PIN has been entered, the dashboard can be accessed.
To receive Bitcoins, you can scan the QR code shown, or copy paste the wallet address. That is pretty straightforward.
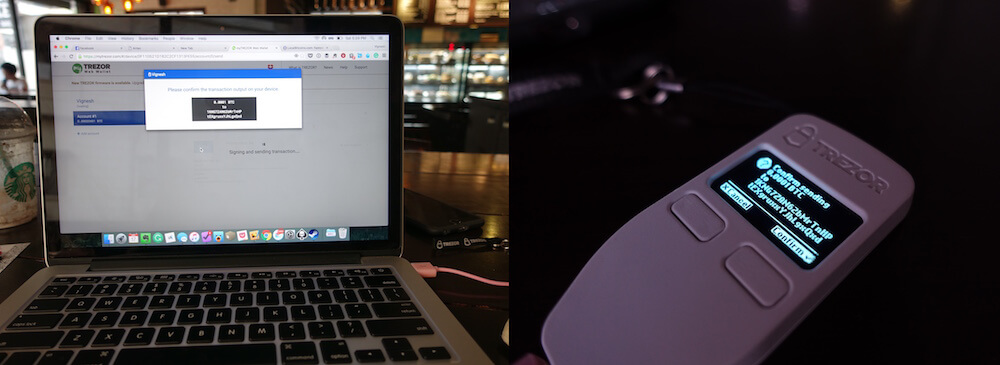
Sending money though, is a bit different from any other wallet. The first thing to do is enter the address you want to send it to and the amount. Once that is done, you’ll have to confirm that you want to make the transaction once again by entering the PIN and physically by pressing a button on the wallet. You can also choose how fast you want the bitcoins to reach the destination wallet.
Recently, Trezor also brought in support for using it on Android phones using USB OTG with myCelium Wallet App. But it is a bit complicated to use and might be hard for an average user. Also, the image on the tiny screen can be customised to anything from the default set or if you fancy; you could upload your own!
Verdict
Trezor Wallet is the best physical wallet I’ve used, regarding security. Its build could’ve been better and could’ve been a bit more easy to access anytime we want. But, this is definitely not an average wallet. The whole idea of the Trezor wallet is to use it as a vault. When you have a lot of Bitcoins, you’ll want to store it in the safest place possible, and you store it in Trezor. You keep another wallet, which is online and easy to access. You do not store much here, but just enough to use some whenever you need and transfer to that wallet from Trezor if needed. Trezor Wallet costs $100 and at this price, it is for the serious users, and it can be purchased from here.


One thought on “Trezor One – Hardware Wallet Review”