So we’ve seen what are the different type of Arduinos and what are Arduino Shields in the past. Now lets go ahead and see what is required to communicate with your Arduino board. There is a Arduino software that needs to installed on the computer to allow interaction of Arduino over USB.
The Arduino IDE is the software which allows the interaction, It’s available for all the leading operating systems like Windows, Macintosh and Linux. If you’re feeling like digging some code, the entire source is also available for download since it’s “Open Source” project.
To download the software for your computer, simply go to http://arduino.cc/en/Main/Software and choose the appropriate option.
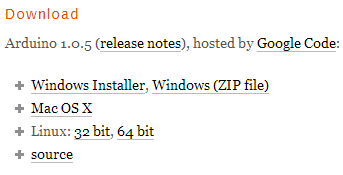
- Download it to your computer
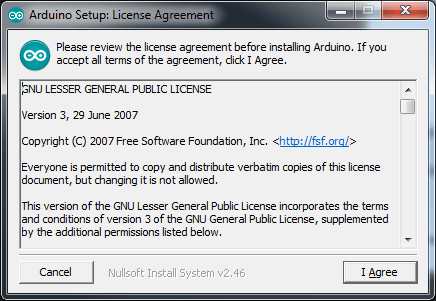
- After having downloaded the software, go through the simple installation steps.
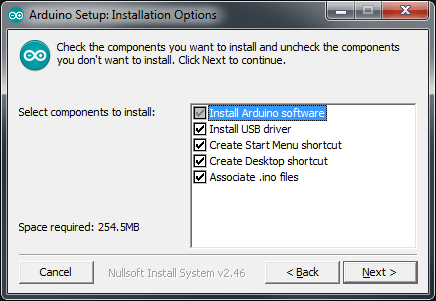
- Choose your options. The first two are mandatory!
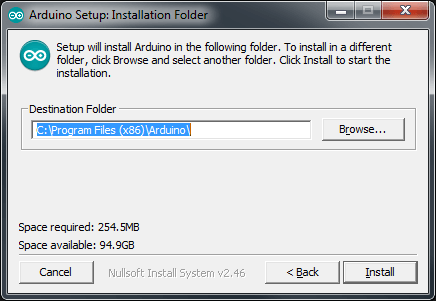
- Select the directory of installation.
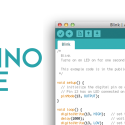
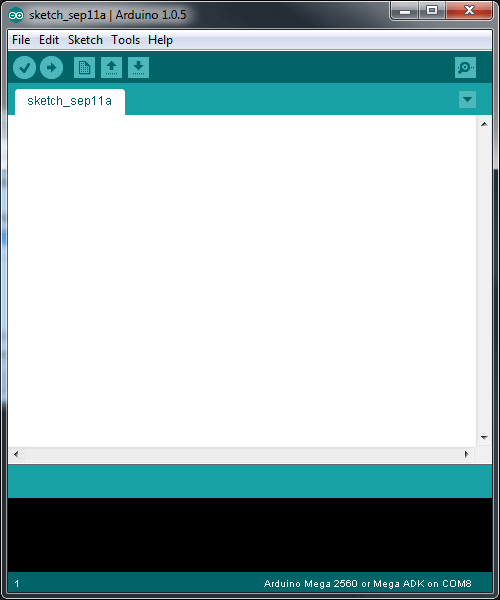
Start up Arduino to make sure everything installed correctly. You should now see a screen similar to this:
If so, congratulations! Now another tiny software that needs to be installed is FTDI. FTDI lets Arduino board over serial port. Download FTDI for Windows, Mac or Linux from here.
Once your done installing FTDI, Connect your Arduino board to your computer via USB and you are ready to go!
Barebones Project Source
//define your variables, include libraries

void setup() {
  //your setup, I/O pins, etc
}

void loop() {
  //do something over and over
}
This code will do absolutely nothing, but it does nothing very well!
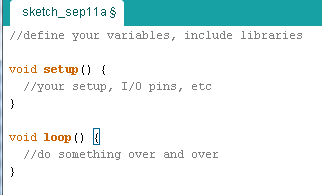
If you know a bit of C Language this will be a lot easier to understand. As you can see from the code sample above, there are two basic functions setup() and loop() much like main() function in C Language.
setup() function is where you set up the pins to be whether analog or digital, input or output and so on.
loop() function is where you write the code which will be repeated over and over again by the Arduino.
We’ll see how to make an LED Blink in the next post!

